Remember When?
For those of you who were using eBay around the year 2000 might remember, it was a major pain to sell things with pictures. Digital cameras weren’t mainstream (or cheap) and so if you needed to sell something but wanted to include pictures, you’d have to take the film photo, get it processed and printed. Then you’d have to get it scanned and saved on media like a CD-R. You’re not done there, eBay wasn’t in the hosting business so you’d have to find a place to host the images and then embed those file in the description using HTML.
Contrast that with today where you can create a listing directly on your phone and upload photos using cellular networks.
Object Capture
Introduced at WWDC 2021, Apple’s Object Capture, is a framework for the mac that allows you to input a collection of photos and output a .usdz 3D asset, complete with texture map. This framework uses photogrammetry in order to accomplish this. What is photogrammetry? If you have two eyes, you’re doing it right now. Your brain is taking two visual inputs and inferring dimensionality based on the difference between the two, in real time. In classic Apple fashion, they low-key announced this extremely impressive technology and then haven’t touched it since.
Before We Start, Some Limitations
Before we start with how to create a 3D asset, let’s explain some limitations. Object Capture, essentially, is guessing the 3D topography of the object based on the difference between visual markers. As far as I know, it is not using LiDAR hardware to it’s fullest. This means that the object you choose to capture should have easy-to-detect texture, be assymetrical, and not be either shiny or transparent. This makes sense, right? If you had something nearly transparent and symmetrical, how would you detect the differences in the surface texture? The shininess matters because if a hard light reflection follows the items everywhere, it is difficult to separate that from what you expect to be unique and consistent to the placement of the object.
Additionally, despite nearly every Apple device having the same processor across both phone, tablet, and laptop computers, this is only available for laptops and desktops, probably due to energy consumption considerations so you’re not doing this on your phone (yet) and any service that allows you to is taking the photos with your phone but then sending off to Mac somewhere else and running it there. It really is curious that they launched this as a framework and hoped that either someone independent would use it in a graphical mac app to create 3D assets or have a big hitter like Adobe integrate it into one of their apps.
How You Can Create a 3D Asset
Okay, knowing those limitations, try to pick something that fits the criteria. Choose a well-lit area with indirect light (think of a cloudy day outside vs. a spotlight shining brightly). I have found good success with a turntable but if you don’t want to spend that money, you can manually rotate the item with your hand or walk around the object but your milage may vary. Additionally, the less complicated the background the better but this isn’t absolutely crucial. If you go to the page for Object Capture, you can see some example images that show the environment and lighting that works best for the framework.
iPhone App
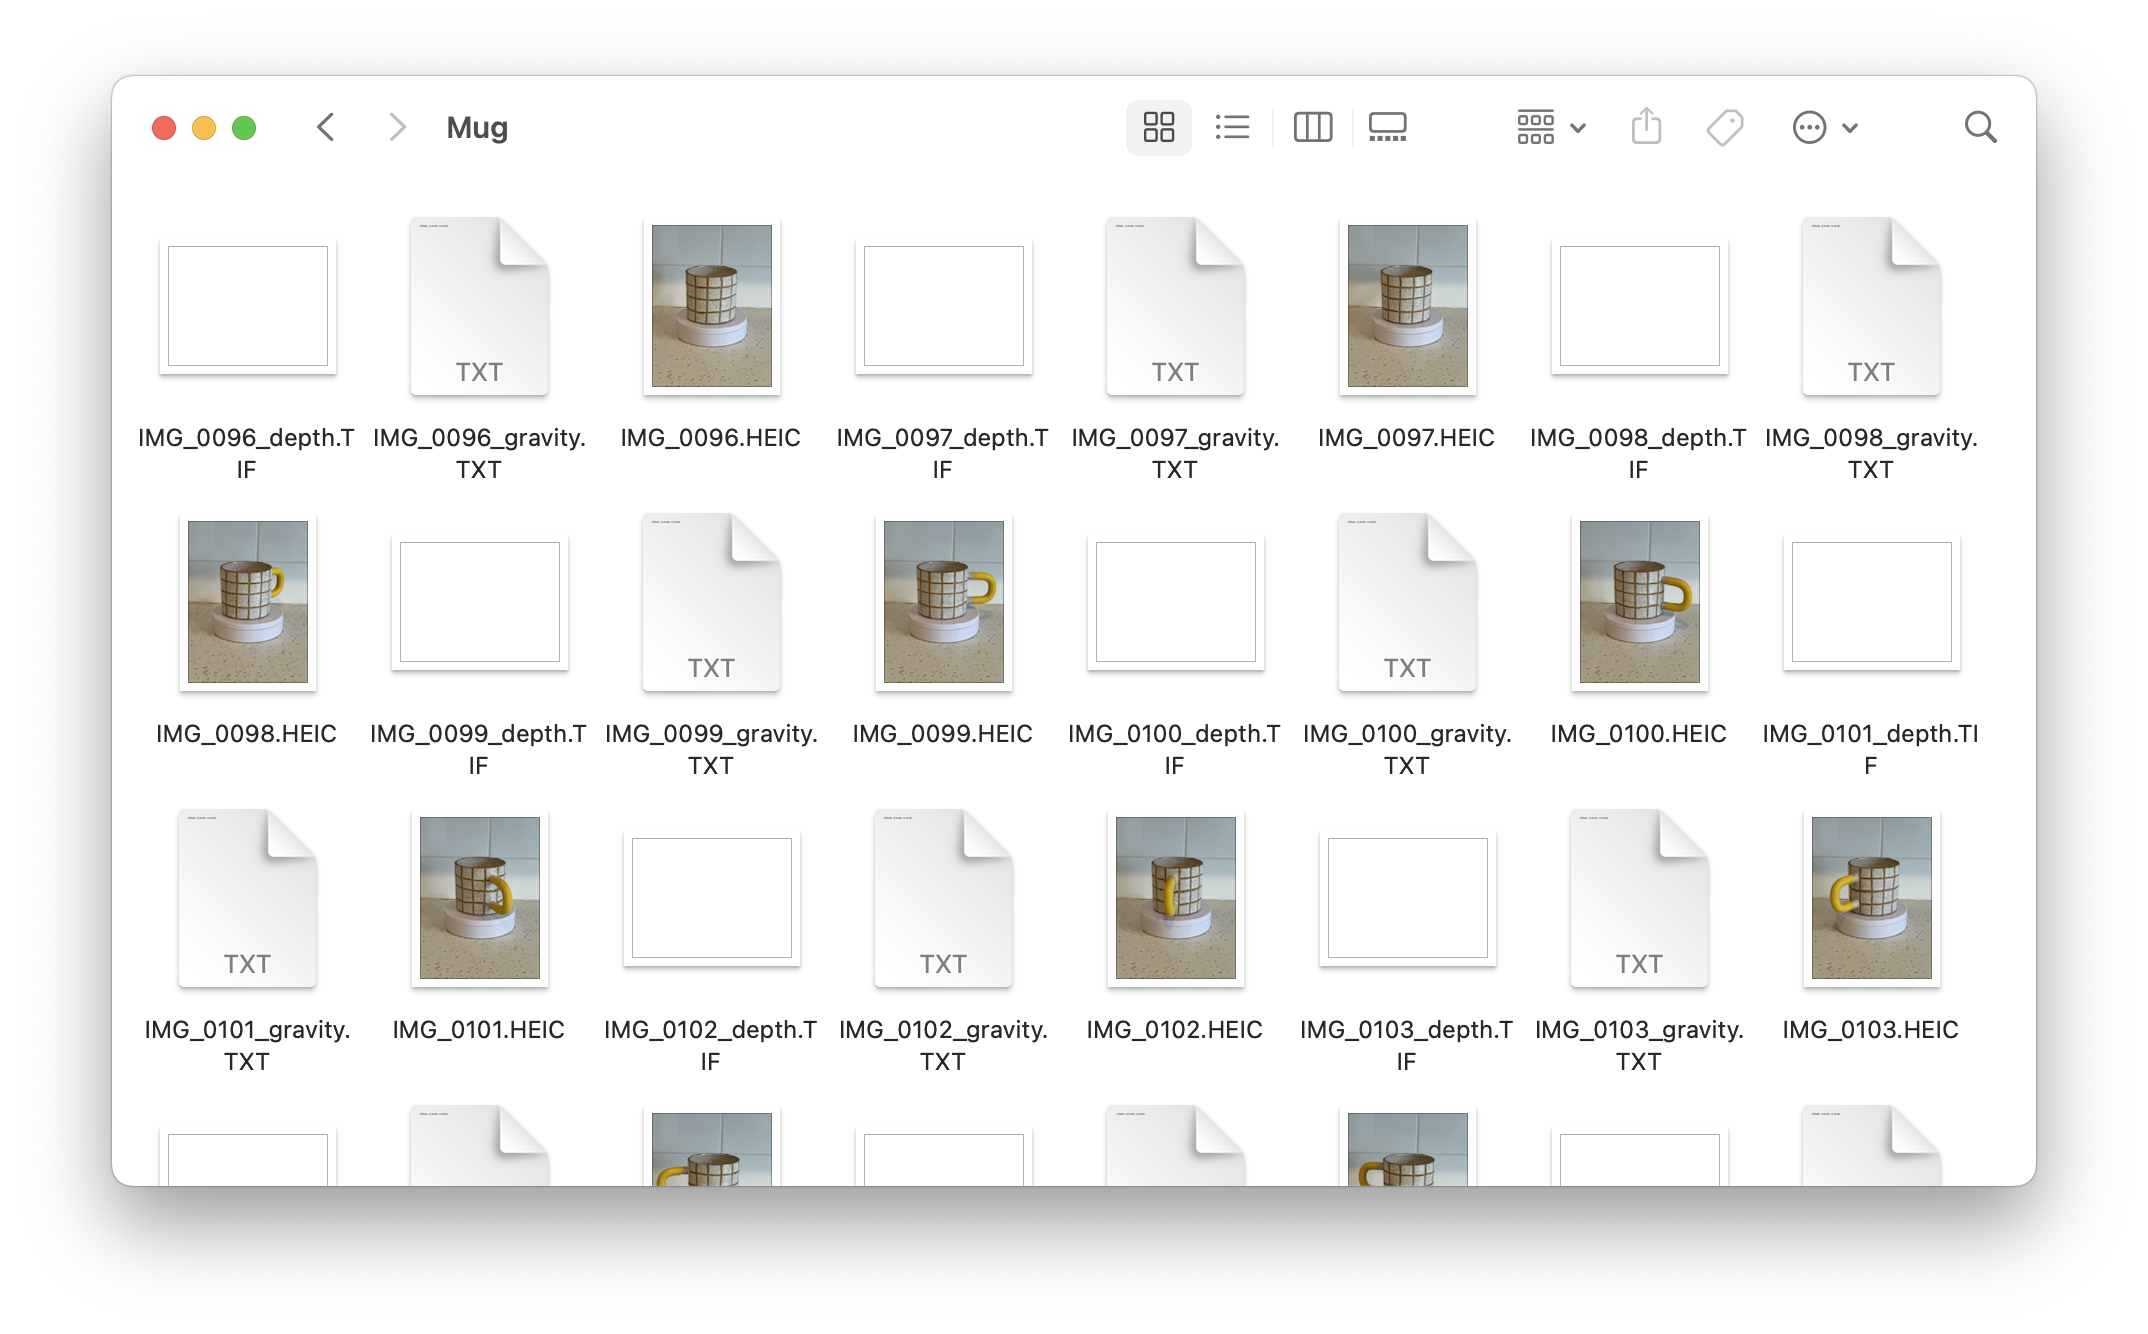
Apple says that you can use this framework with a DSL, drone, or Android phone but suggests using a dual-camera iPhone with LiDAR in order to generate high-fidelity images with a depth-map. Luckily, Apple also released sample code for an iPhone app that captures the correct data and exports what it calls gravity files. These files have the following format: -0.026483,-0.950554,-0.309428. This, I’m speculating, resembles the x,y,z coordinates of the phone.
Download the project, build, and run on your device after you wrestle with the provisioning profiles. The UI should resemble something like this:
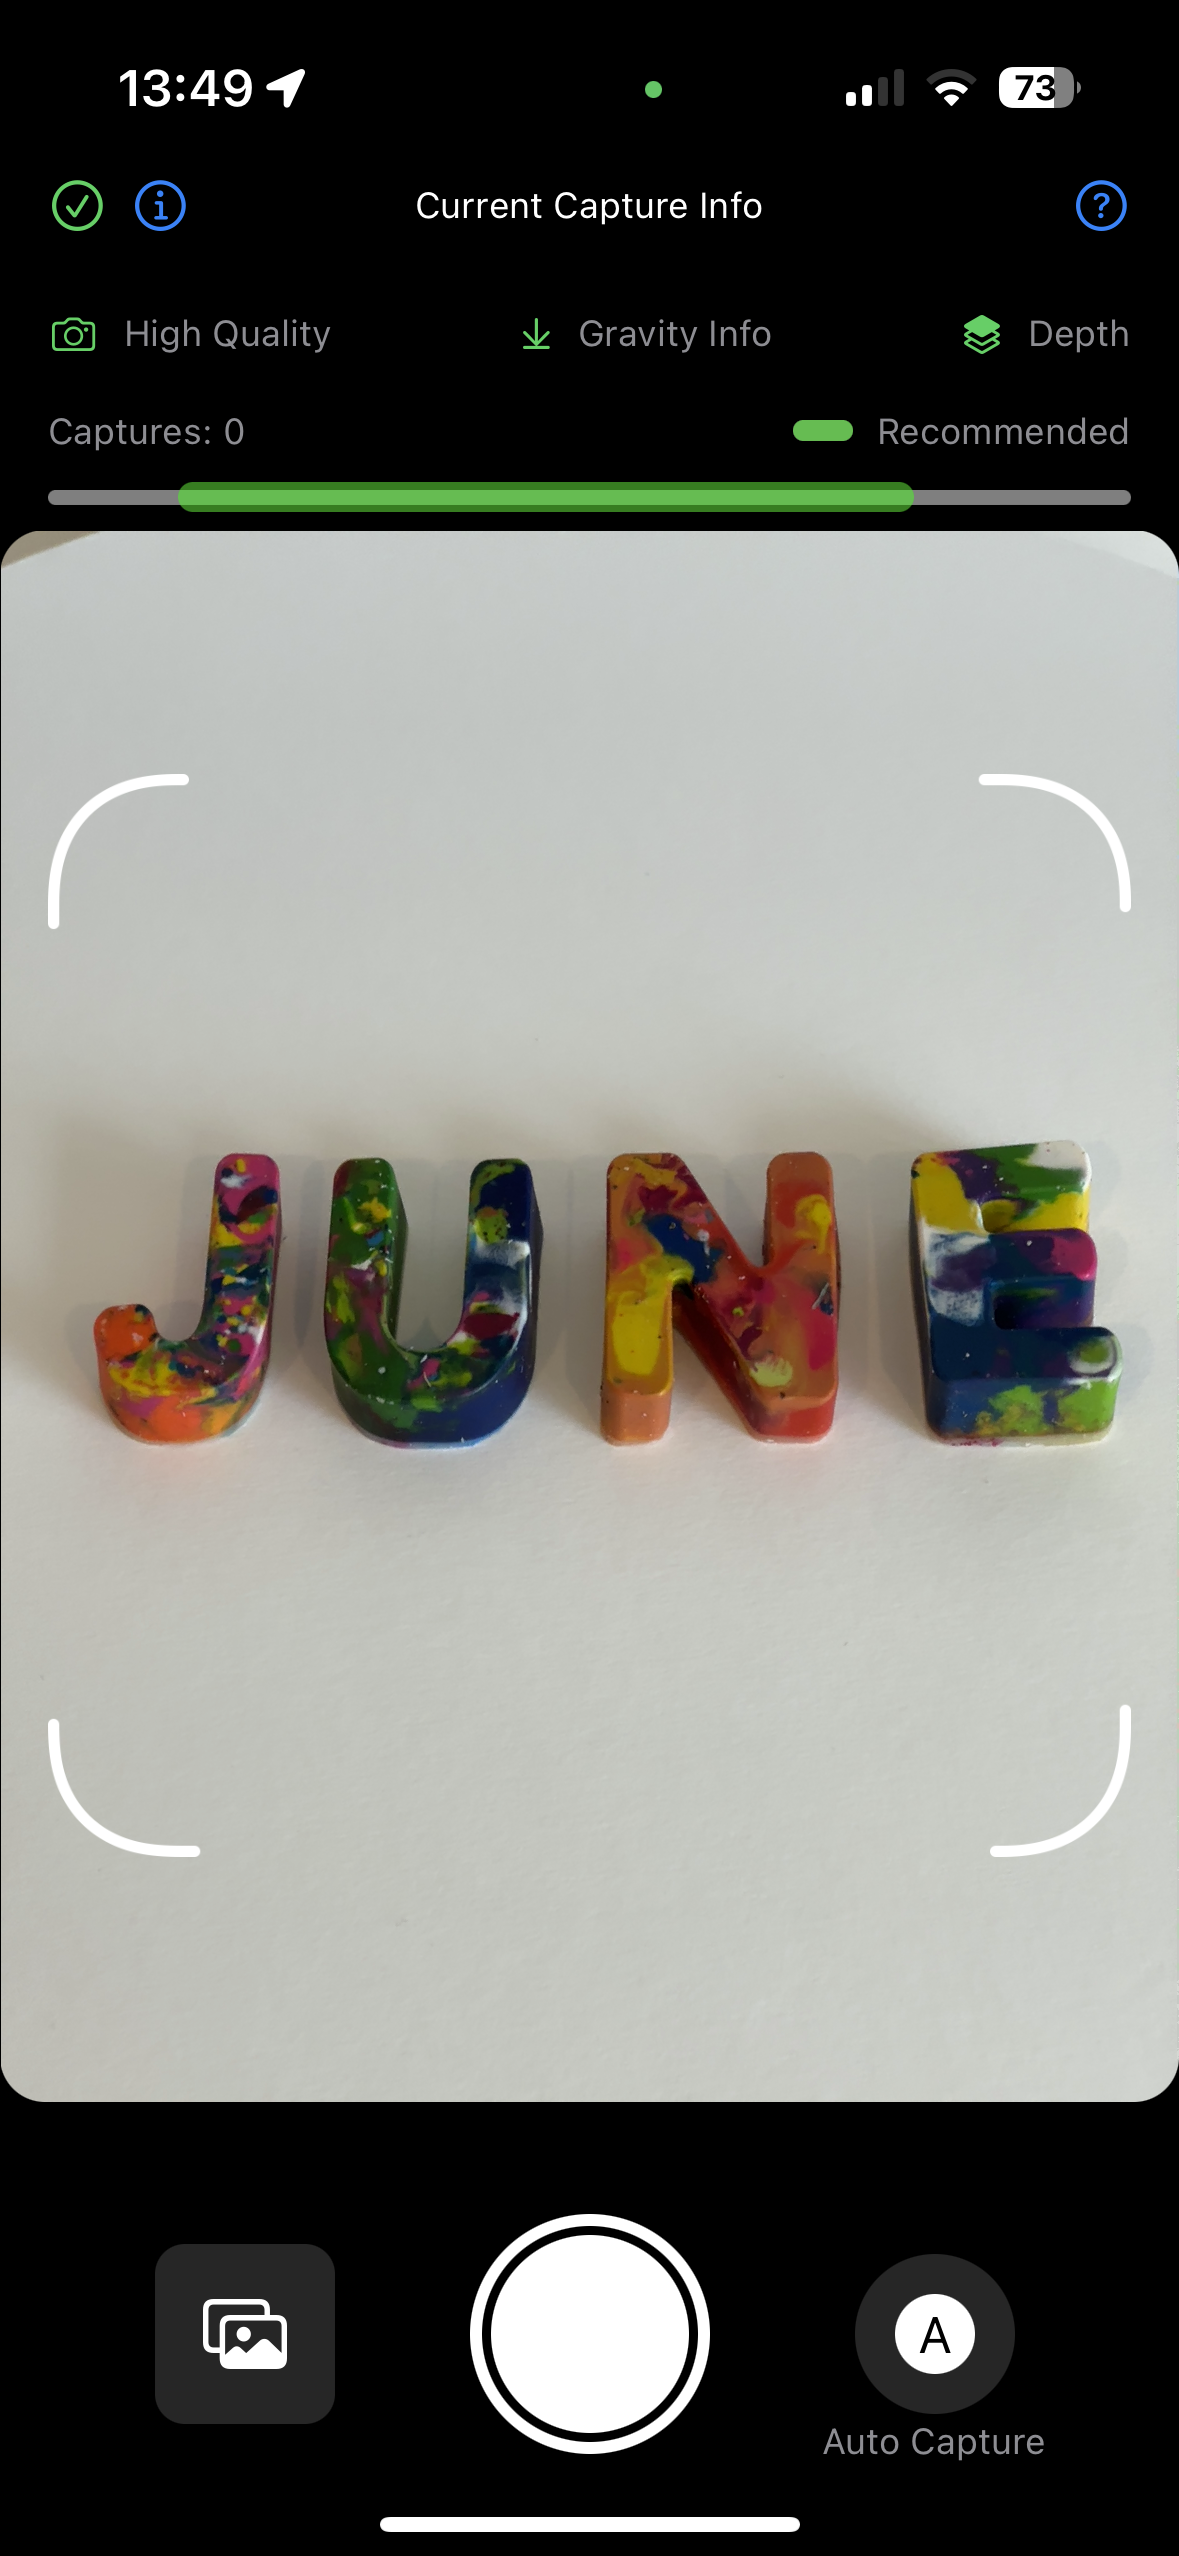
Using this app, you want to capture various angles of the item. All around, below, and above. I tend to shoot straight forward on the object while it rotates on a turntable. You don’t need a turntable; you can reach in and shift the object between shots. Once I have good coverage, I’ll flip it upside down and get a set of photos at around 45°, again all around the object. You’re aiming for over 40 photos here and the more the better.
After you are done, hook your phone up to your mac and import the photos by going to Finder and selecting your phone. This is the old iTunes interface and you need to select the files tab. In the list should be the sample app and a folder named “Captures”. Drag that to your Desktop or wherever. Within this folder is a set of subfolders that contain your photos and the gravity files.
Mac Command Line App
Apple released the ability to convert those photos into 3D assets as library for MacOS meaning that it’s not an app like Reality Converter but intended for developers to create their own apps for importing and editing of the parameters for creation. If you want to skip having to download Apple’s source and running it through a command line application, there are plenty of apps on the Mac app store which are a GUI for this very functionality.
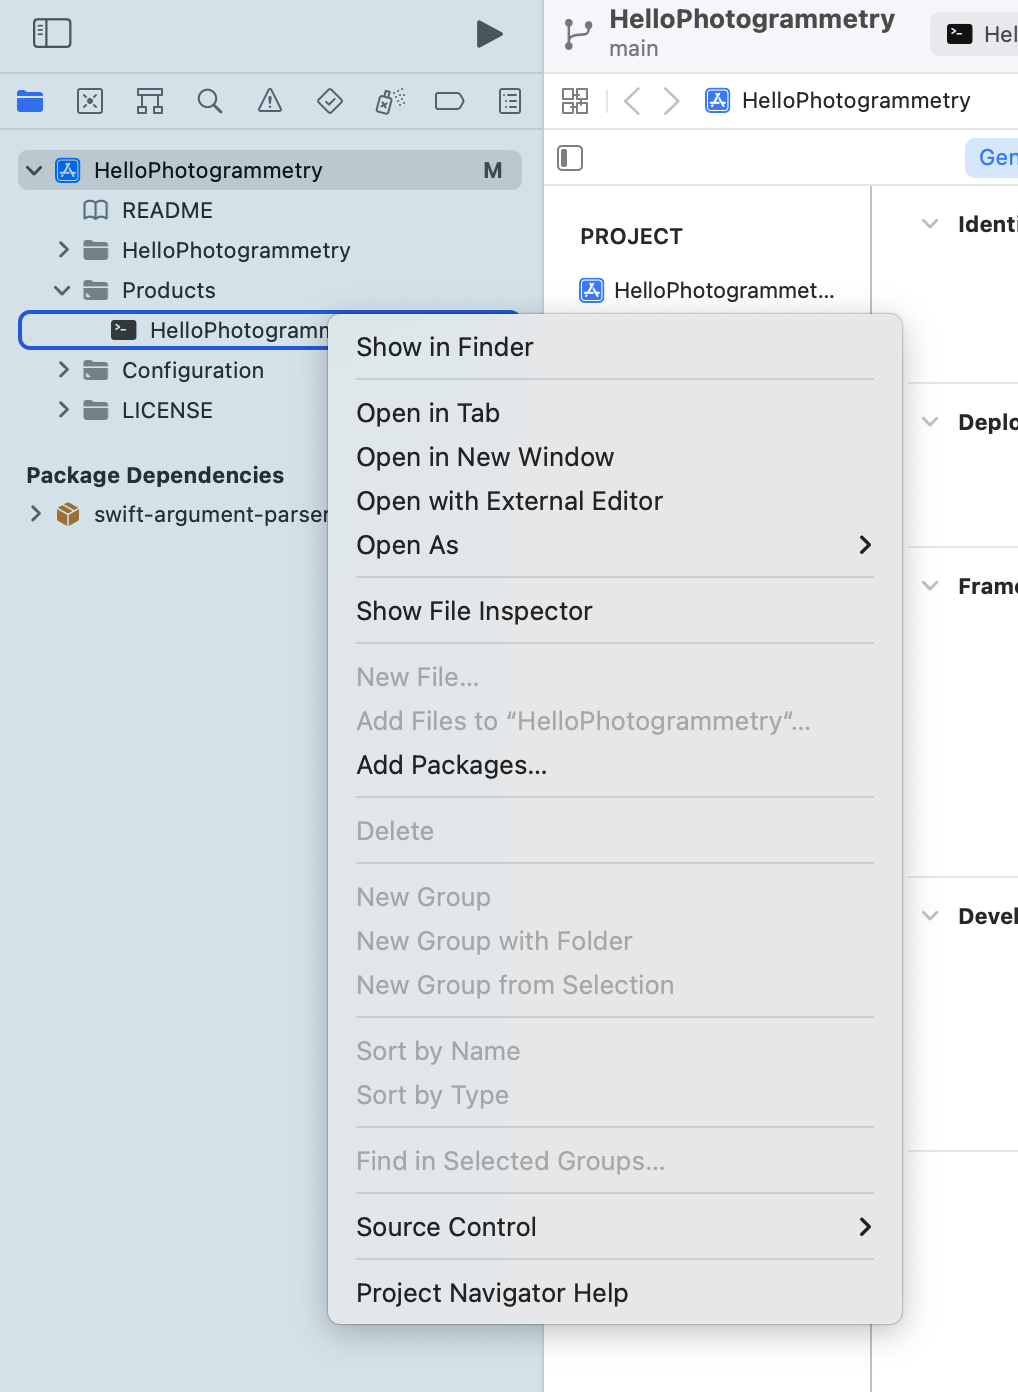
If you do want to forge forward, the source code is here. From here, build the app and get the app from under Products. ⌥ + click on the product to reveal in Finder and that’s your binary. Drag this into whatever folder you want to operate from.
Bringing It All Together
You have the photos and you have the command line mac app. It’s time to make a 3D asset. Navigate to your folder containing the mac command line application and your assets. You’ll need to type in ./HelloPhotogrammetry path/to/your/folder path/to/your/output/file.usdz. After a bit of time, you should have a file that resembles your object in real life.
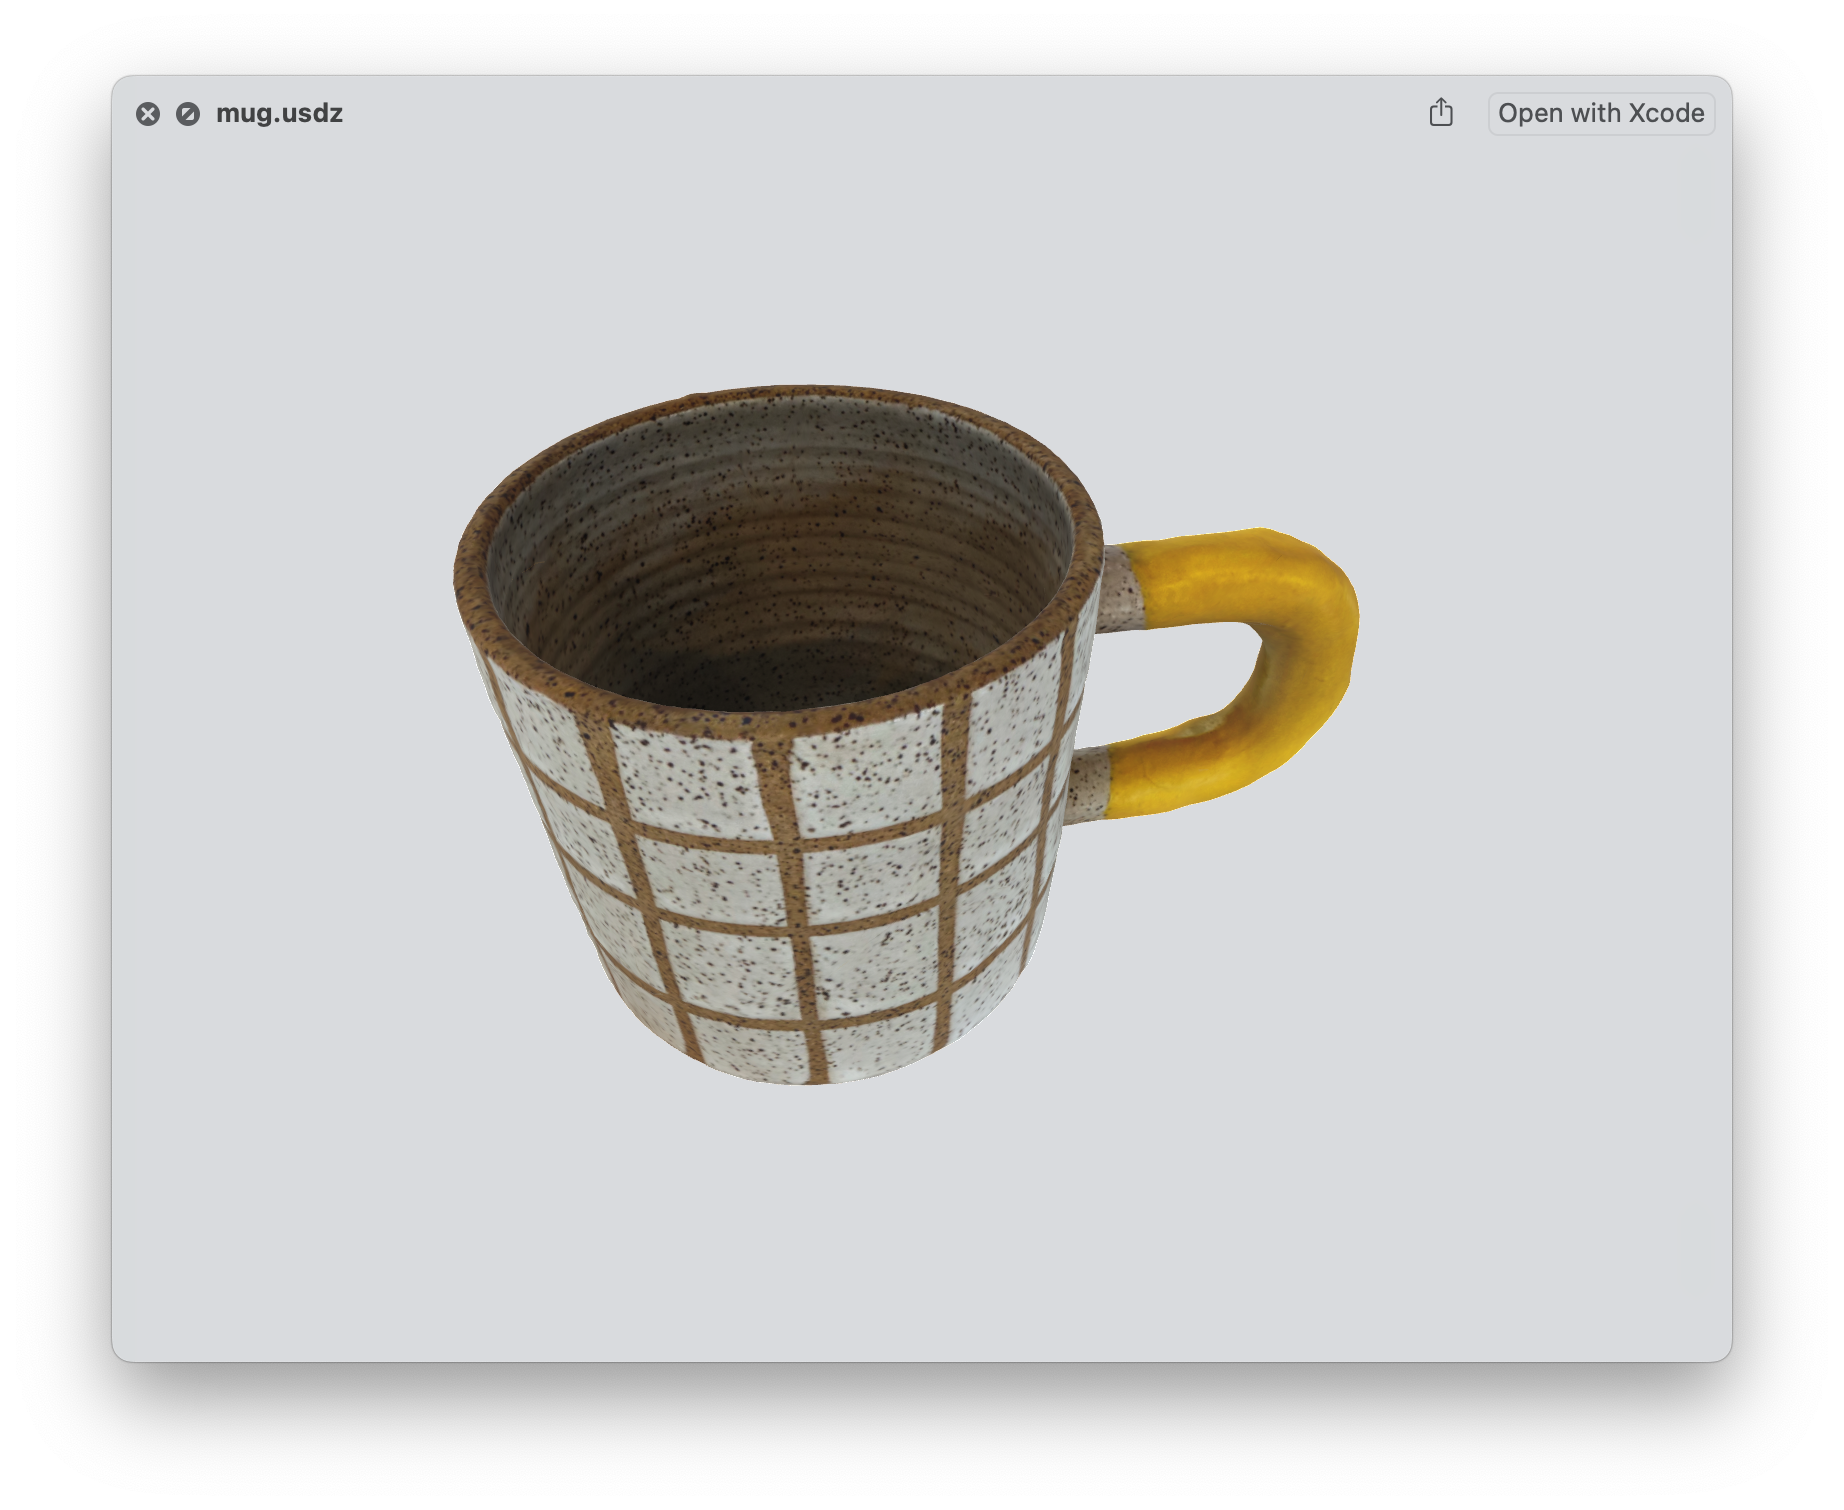
From here, you can use the asset in Xcode or send it to a friend via messages. iOS has native usdz viewing so it will display and even be placed in the user’s space when they open it.
Baby Steps
That was a lot of work and the process really becomes arduous if you were, let’s say, cataloging more than 5 items at a time. But this is the first step and it’s bound to get better. Increased utilization of hardware, more refined data, better image capture, etc… These are all reasons to believe that it’s going to get better from here.
What I’d like to see is this happening on mobile devices and with video buffer frames instead of photos taken at an interval but if you look forward to glasses or whatever, it’s a matter of time before it starts to get just as easy as snapping a photo with your phone is today.