Overview
Augmented Reality is a burgeoning field of technology due to a myriad of factors: shrinking devices, ever-improving spacially-aware hardware, machine learning and image recognition improvements, and improving cellular networks.
Apple has been making a big push into this realm since iOS 11 when ARKit was introduced. Slowly improving it in the last five years, Apple started with support for gaming engines such as Unity and Unreal along with their own 3D API, SceneKit. With iOS 13, Apple introduced an API to assist with the creation and display of augmented reality content with RealityKit.
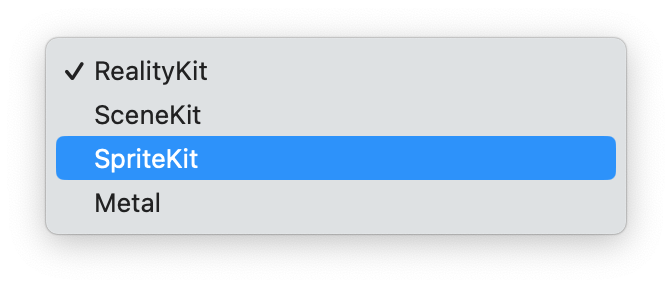
Let’s say that you’re excited about augmented reality and you want to make your first app. When you launch Xcode and click on “New Project”, you can select an augmented reality app template. Great! But after you do the difficult part of selecting a name, you’re presented with a dropdown that allows you to select which technology to use: RealityKit, SceneKit, SpriteKit (Apple’s 2D gaming API), or Metal (Apple’s OpenGL replacement). We aren’t going to use strictly 2D sprites and we don’t need to drop down to Metal. That leaves us with RealityKit and SceneKit.
But what’s the difference between SceneKit and RealityKit if they both use ARKit?
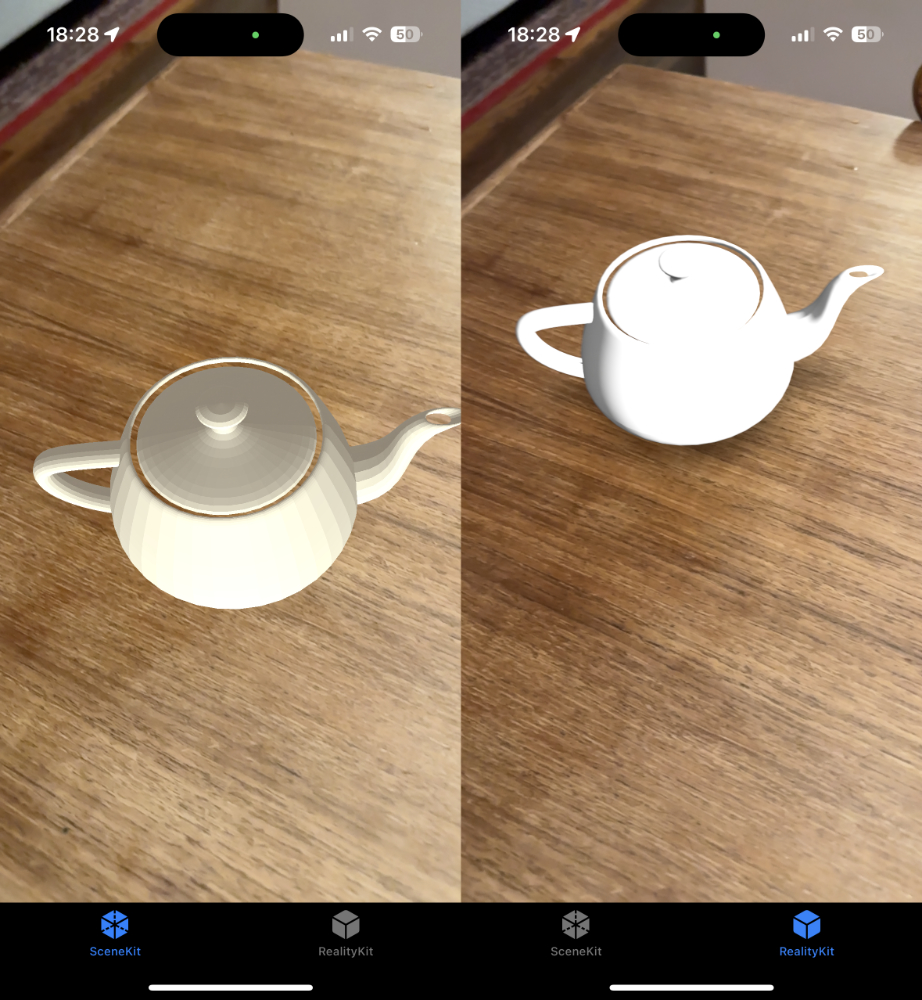
For this blog entry, I’m going to present the Utah Teapot in an ARKit view using both technologies. The code is here but I’ll be showing what it takes to get the .obj file into the app and presented. Once I got it presented, you can see there are some differences in how they appear.
In future entries I’ll try to do some typical things like animations and interaction in order to contrast the two frameworks with the pros and cons for each one along the way.
SceneKit
The Canvas
For SceneKit, we need to utilize ARSCNView. It is a subclass of he SCNView has 3D-specific functions/properties like if it should render continuously. That being said, it has AR-specific properties and features for raycast queries and planes. Most importantly, it has an ARSession property that you need to configure and start:
sceneView.session.delegate = self
let configuration = ARWorldTrackingConfiguration()
configuration.planeDetection = [.horizontal]
sceneView.session.run(configuration, options: [.resetTracking, .removeExistingAnchors])
At this point, it will start looking for horizontal planes. Once it finds one, the ARSessionDelegate method will be called to let you know that an anchor has been found. We need to make sure it’s a plane. It is here that we can place an object. I’ll show that after we define how to get the asset.
The Asset
Getting the teapot into the project was as simple as adding the .obj file to the bundle. In order to utilize the 3D asset, it was as simple as the following code.
let scene = try? SCNScene(url: urlOfFile)
let asset = scene?.rootNode.childNodes.first
After the session finds a plane in the delegate function func session(_ session: ARSession, didAdd anchors: [ARAnchor]), it’s a matter of using the transform (location, scale, rotation) of the anchor for the position of the asset and then placing it into the ARView’s scene.
func session(_ session: ARSession, didAdd anchors: [ARAnchor]) {
    guard
        let planeAnchor = anchors.first(where: { $0 is ARPlaneAnchor }) as? ARPlaneAnchor,
        let asset = asset,
        asset.parent == nil else { return }
    asset.simdPosition = planeAnchor.transform.translation
    sceneView.scene.rootNode.addChildNode(asset)
}
RealityKit
The Canvas
RealityKit uses an ARView which looks very similar to ARSCNView but they are similar but not related. What’s similar is that they both have an ARSession that you need to configure the same way shown before. Again, you can use the ARSessionDelegate in order to detect when a plane is found. Here is where the similarity between SceneKit and RealityKit end, though.
The Asset
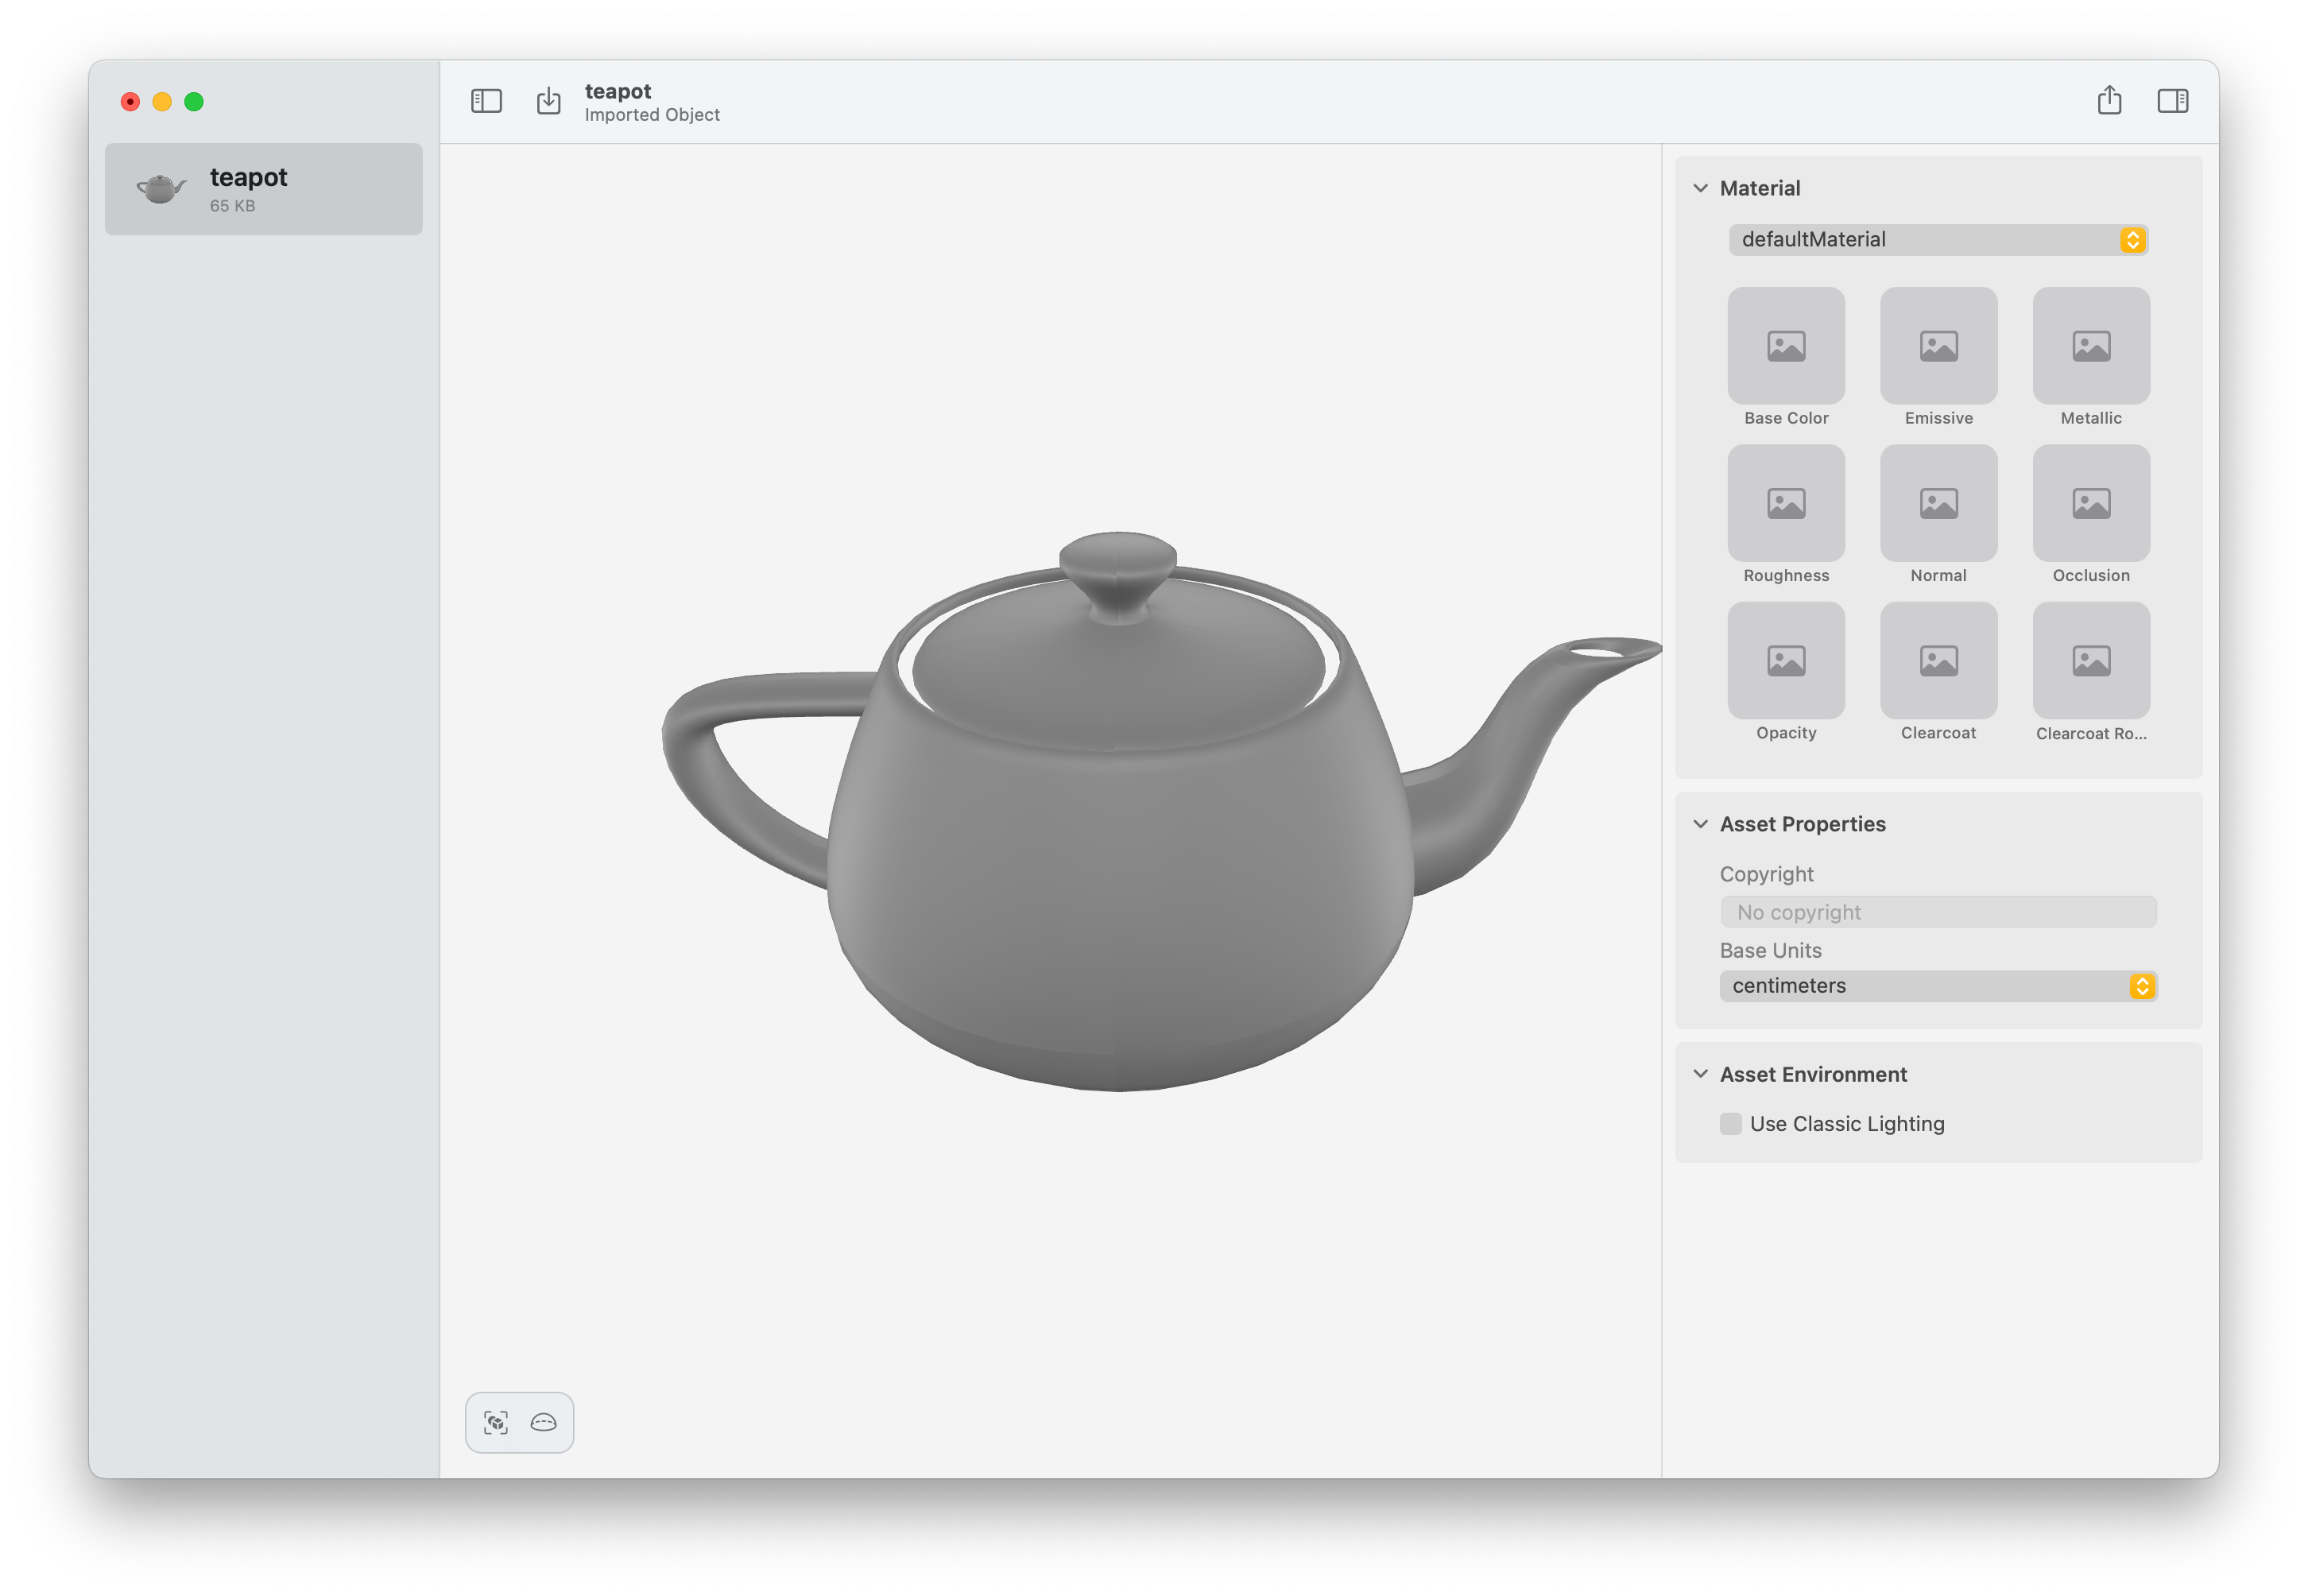
Right off the bat, it is not possible to load the .obj file within RealityKit. Only USD files (.usd, .usda, .usdc, .usdz) and Reality files (.reality) are supported. As a result, you need to convert it to one of those formats using a program provided by Apple called Reality Converter. Thankfully, this is as easy as dragging and dropping a file into the window and exporting as a .usdz format. But, what if your 3D asset workflow doesn’t use USD? You can use Pixar’s USDZ command line tool to convert.
Getting the asset to load can be done in an asynchronous manner (yay!) using Combine (ugh.).
        let url = URL(filePath: path)
        let _ = Entity.loadAsync(contentsOf: url)
            .sink { response in
                switch response {
                case .failure(let error):
                    print(error)
                case .finished:
                    print("done!")
                }
            } receiveValue: { entity in
                self.asset = entity
                self.asset?.scale = SIMD3(x: 0.03, y: 0.03, z: 0.03)
            }
            .store(in: &cancellable)
As super-complete documentation says An entity represents ‘something’ in a scene.. This is the base object of many types we’ll use in RealityKit including, AnchorEntity, ModelEntity, lights, and camera.
Again, we use the session delegate function when the session finds a plane. But unlike before, we don’t translate the asset using the planes transform, instead we create an EntityAnchor by initializing with the plane anchor. We add our asset to that AnchorEntity and it presents it after we add the anchor to the scene.
    func session(_ session: ARSession, didAdd anchors: [ARAnchor]) {
        guard let planeAnchor = anchors.first(where: { $0 is ARPlaneAnchor }) as? ARPlaneAnchor,
              let asset = self.asset,
        asset.parent == nil else { return }
        let anchor = AnchorEntity(anchor: planeAnchor)
        anchor.addChild(asset)
        anchor.addChild(light)
        self.arView.scene.addAnchor(anchor)
    }
In Conclusion
This is merely scratching the surface of what’s possible. We simply imported an existing model and placed it in the user’s environment. But what about interactions? Animations? Physics? Lighting? I’m going to try to dive into these aspects of augmented reality on iOS to show how they can be accomplished on RealityKit at the very least but may need to contrast vs. SceneKit.